Thanks for reading my newsletter this month! Please check out my newsletter PDF below, and below that I have included way more pictures and describe the progress.
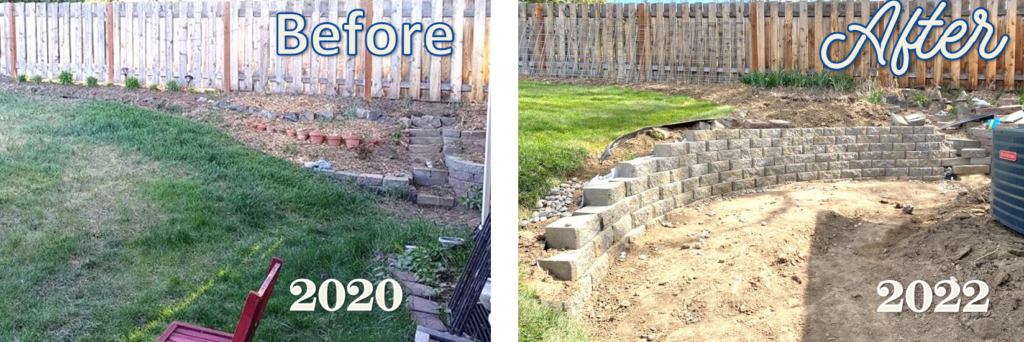
Below, I show you the process of building the retaining wall.
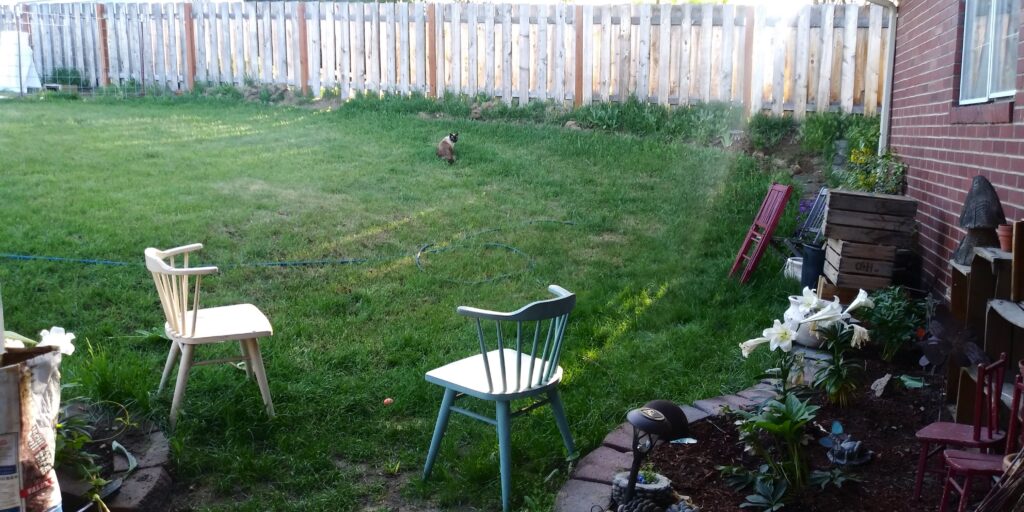
2019: it was all grass, which sloped down to the house.
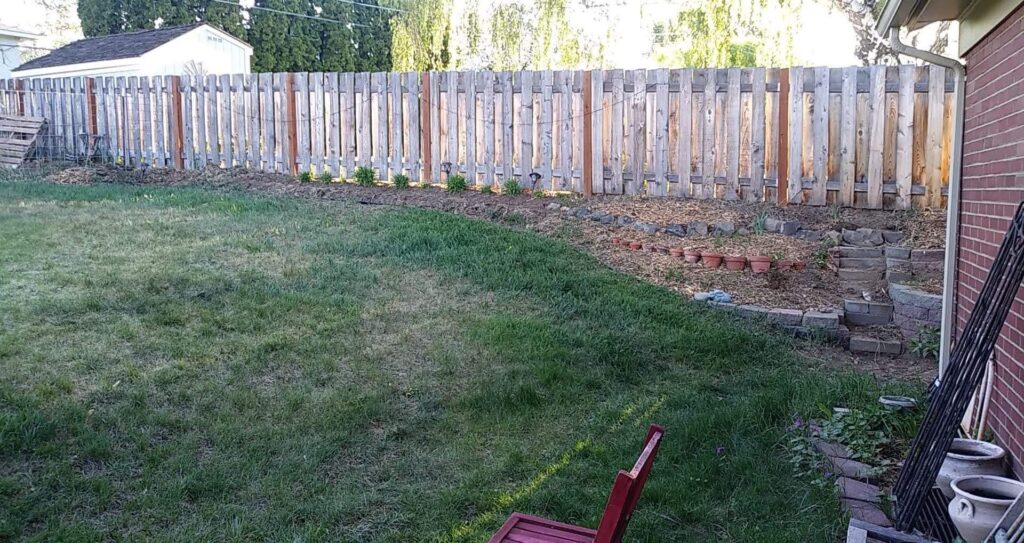
2020: I decided to begin removing grass to make it easier to mow. Also, our lawn was sooooo bumpy and not in good condition, so we had the grass removed and new sod put down in this last month.
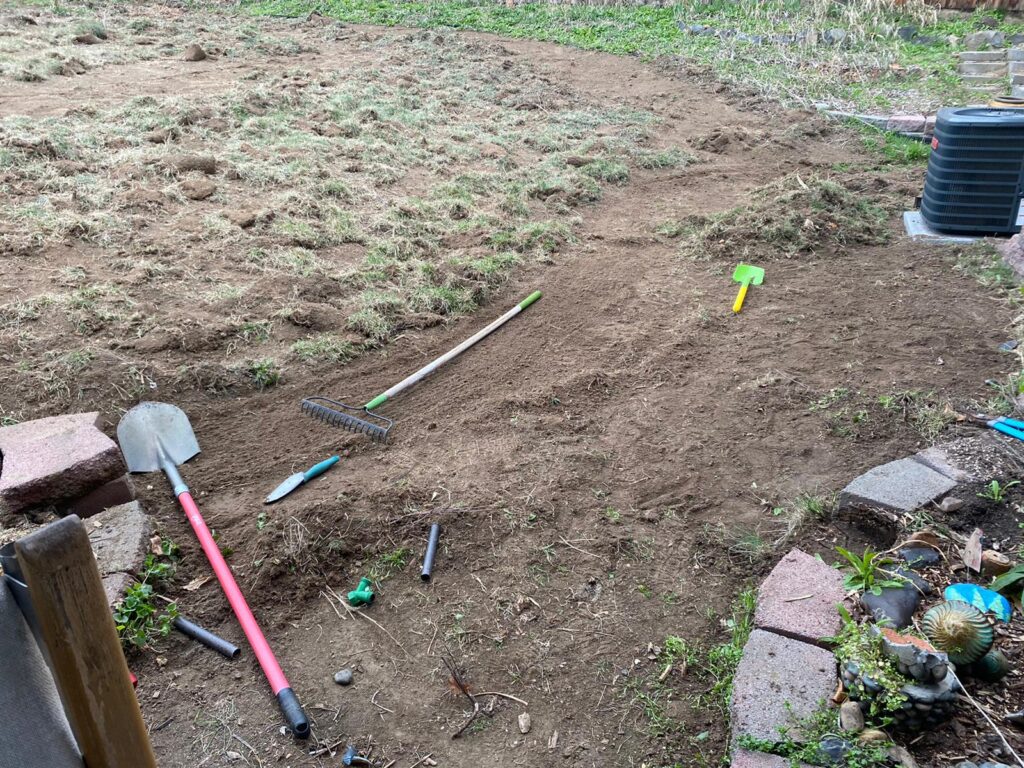
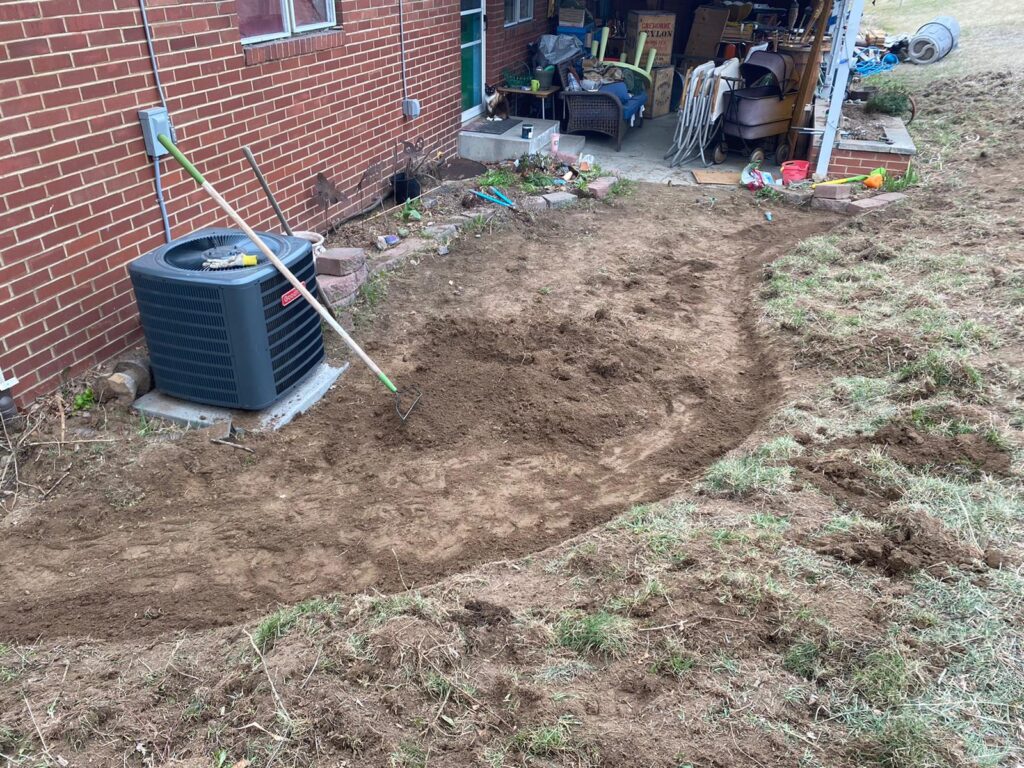
I want to extend my patio, so while I waited for my new grass to come in, I started marking where I would like pavers to be, and where the grass should end.
In order to put in pavers, I would have to cut into the slop of the hill to level it out.
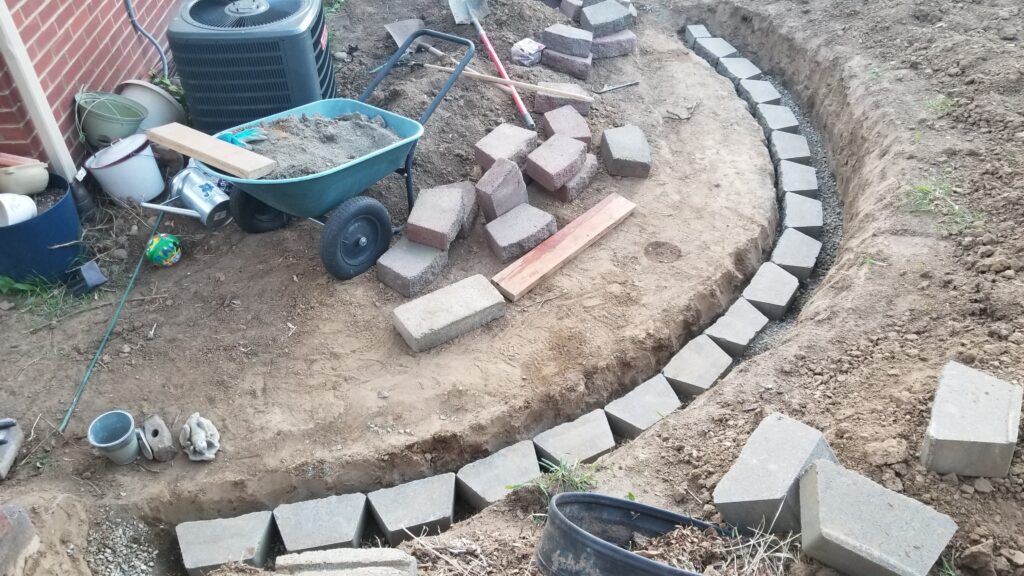
But I realized I wanted the patio to be even bigger, which meant I would have to build a bigger wall!……and in 10 DAYS ONLY!!!!!
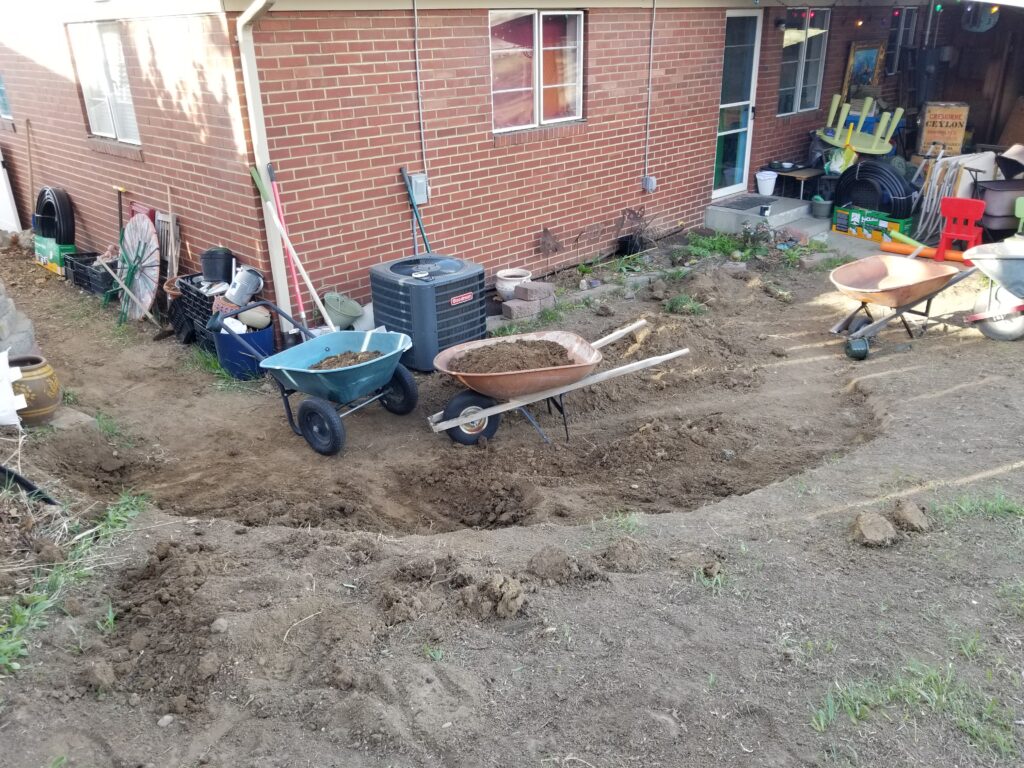
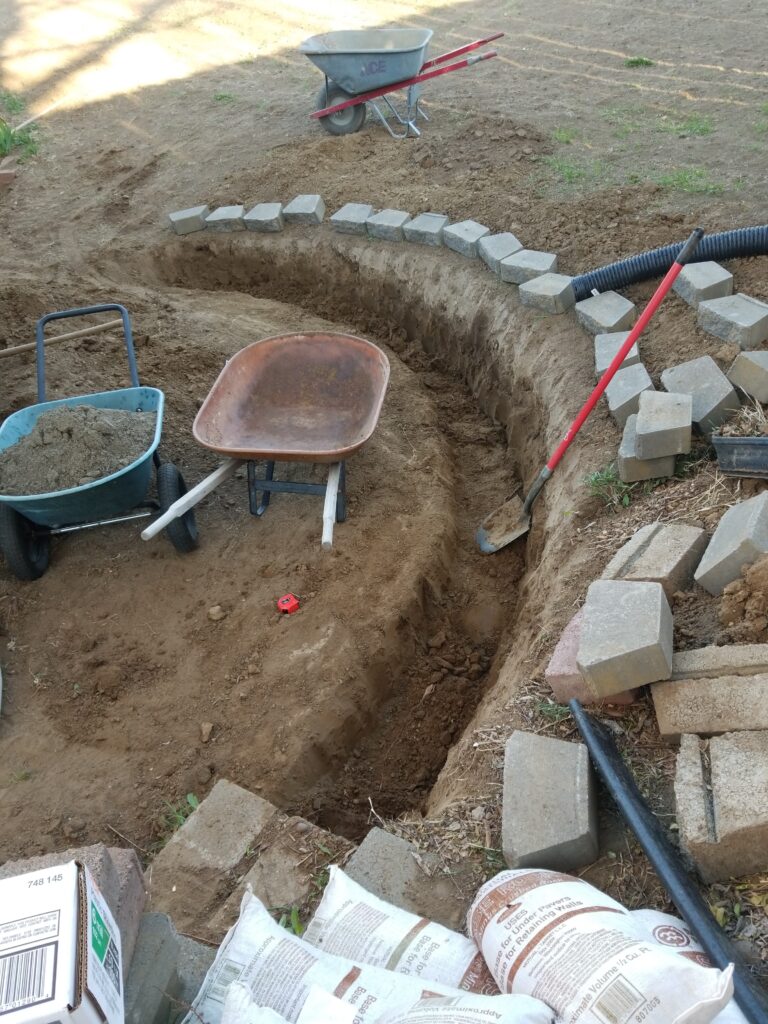
It was a ton of hard work and many early mornings digging dirt.
This isn’t even close!! I ordered my retainer wall stones and had them delivered from Home Depot. An extra fee, but it was nice.
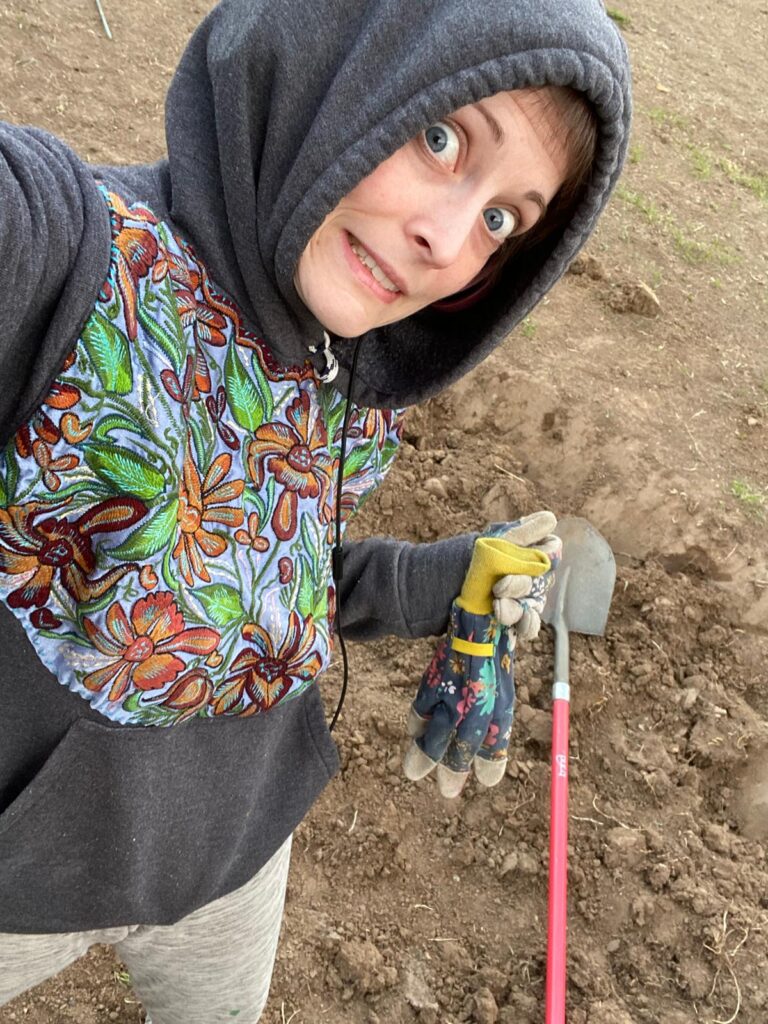
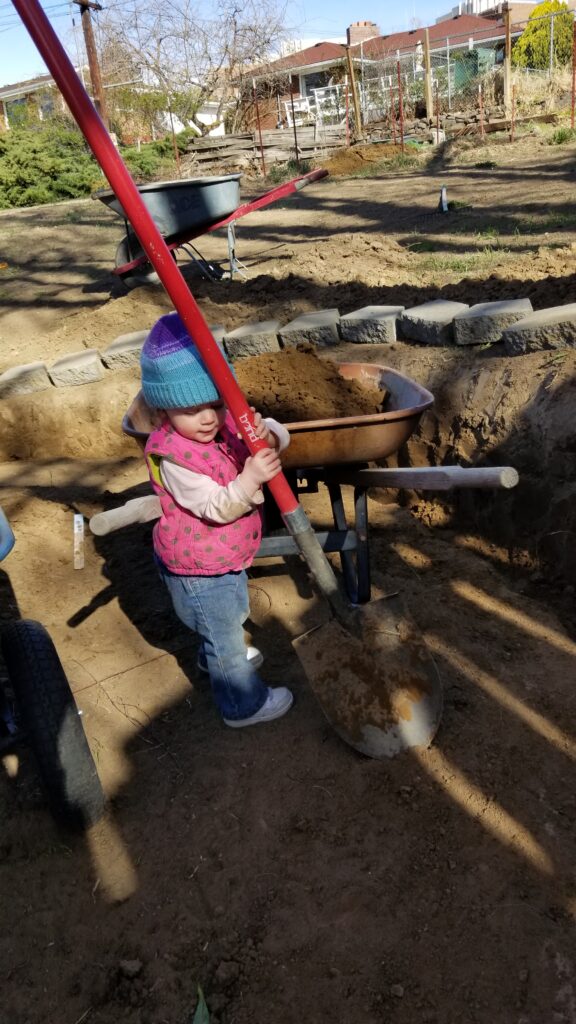
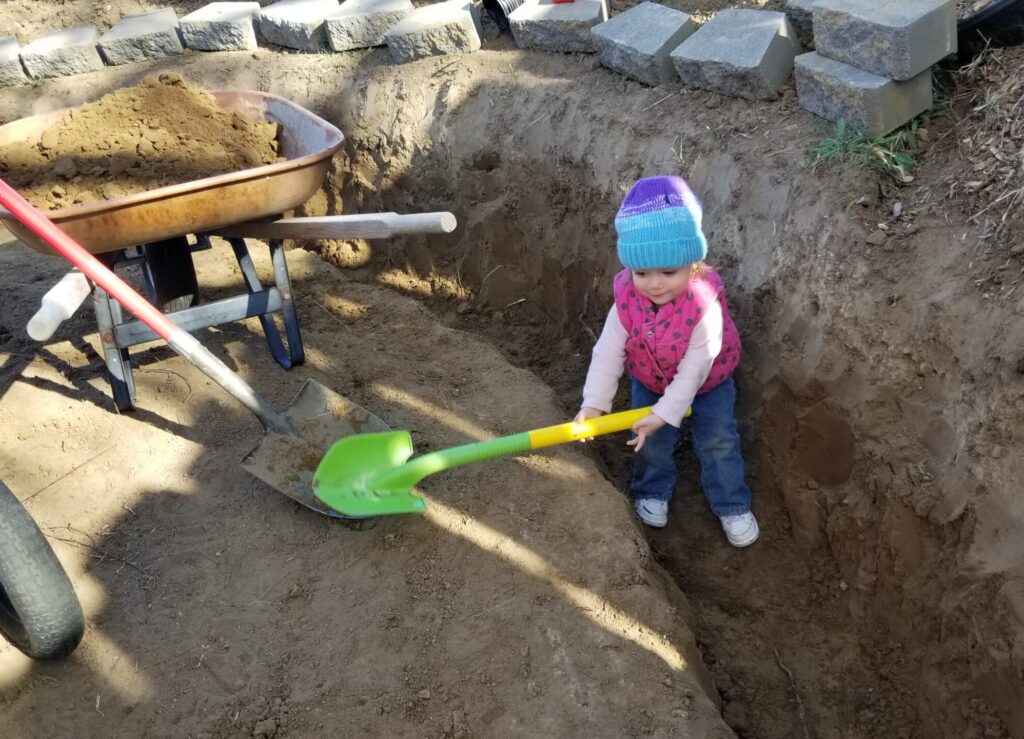
Phoebe was such a good helper for mommy!
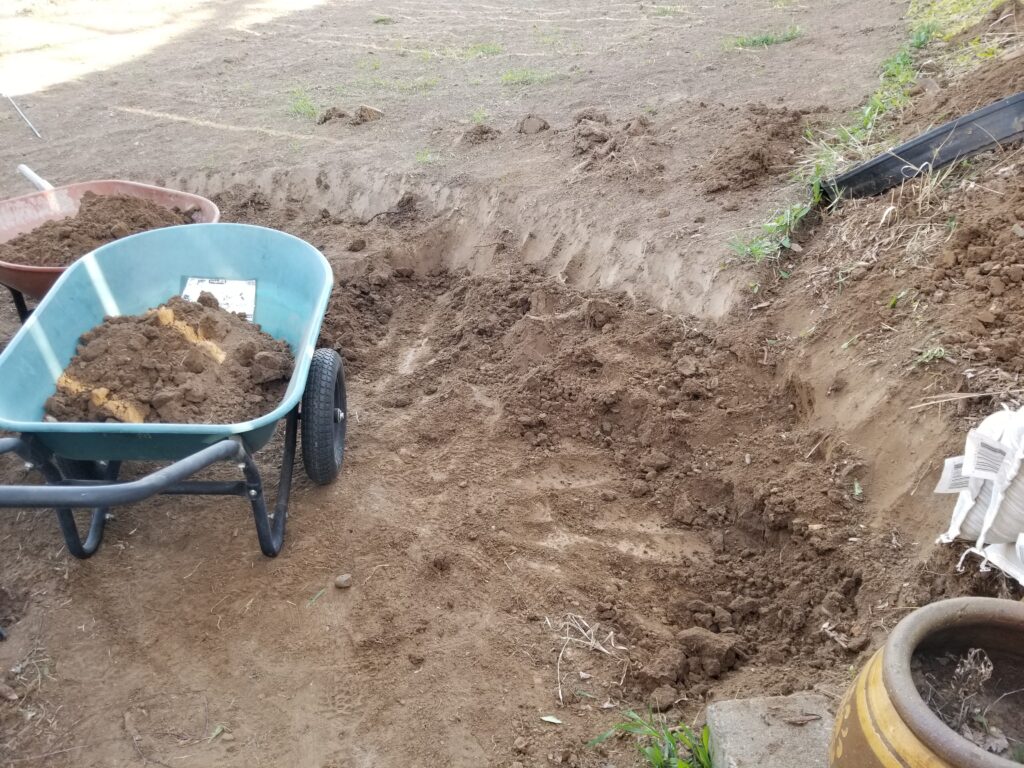
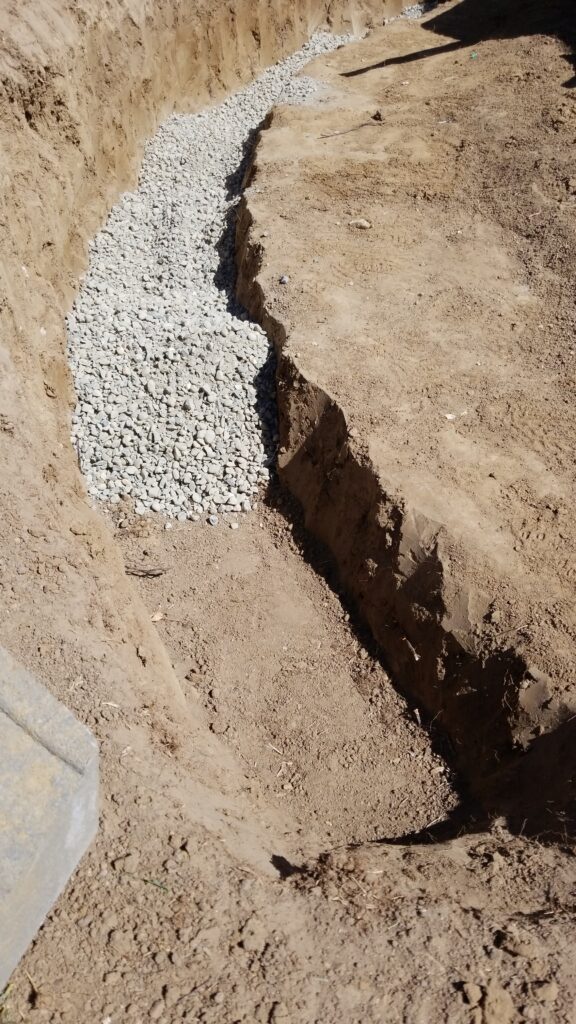
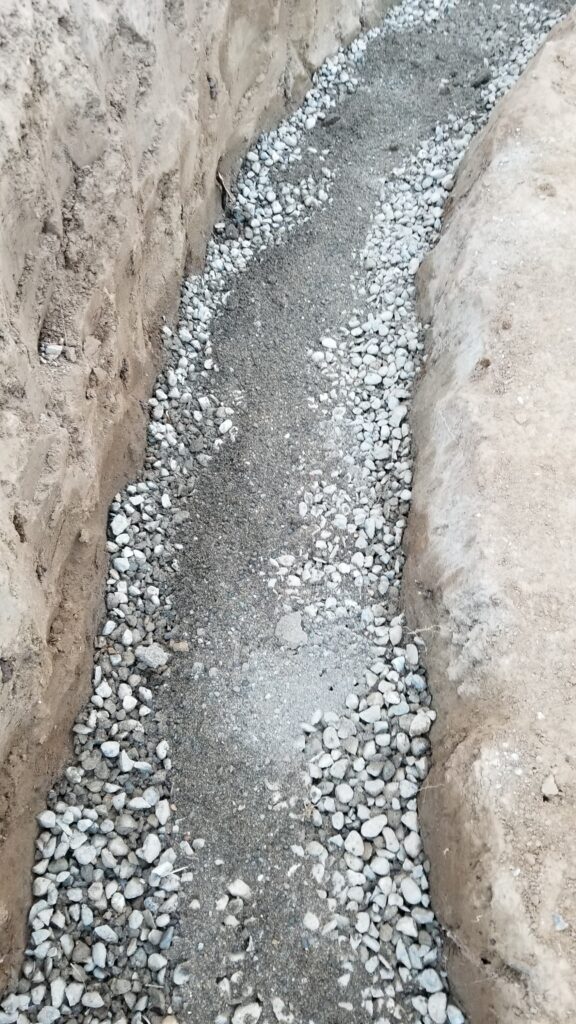
I had to dig a trench about 9″ deep so there would be room for a thick layer of packed gravel, and the first level of stones to be buried below ground level. These wall blocks are about 21 lbs each. I would carry 1-2 of these at a time, multiple, multiple times per day as I build this wall.
So CUTE! But, the worksite is NOT a safe space for a kid. I got these cute photos, but I only got to work on this while she slept or being watched by my husband.
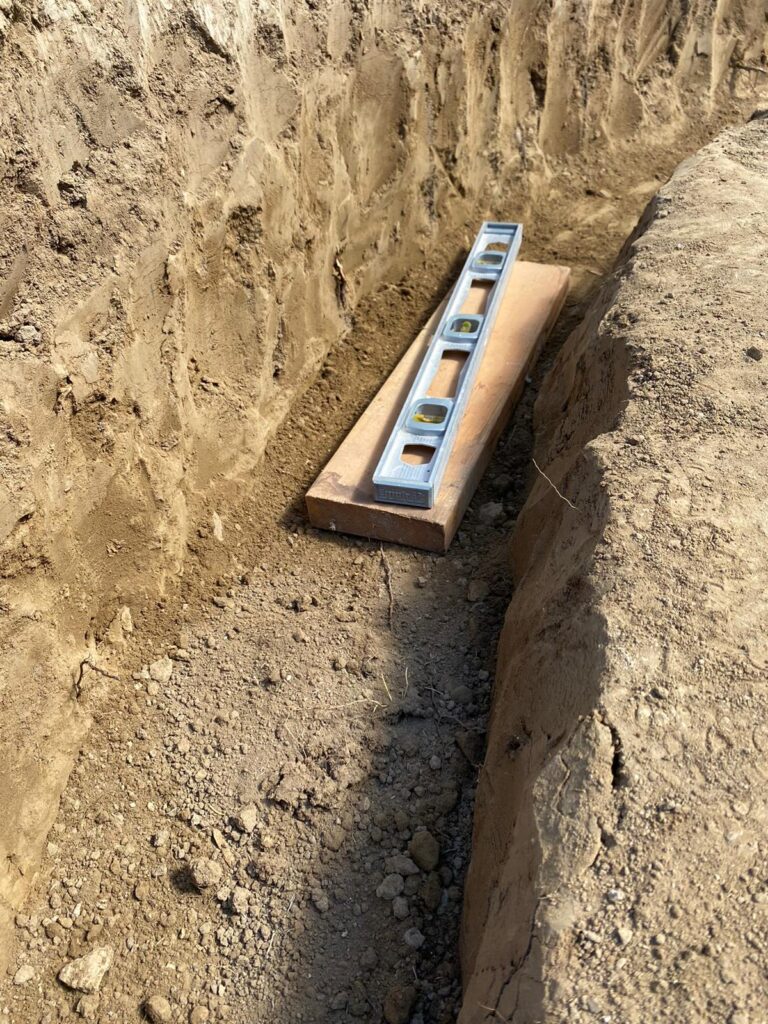
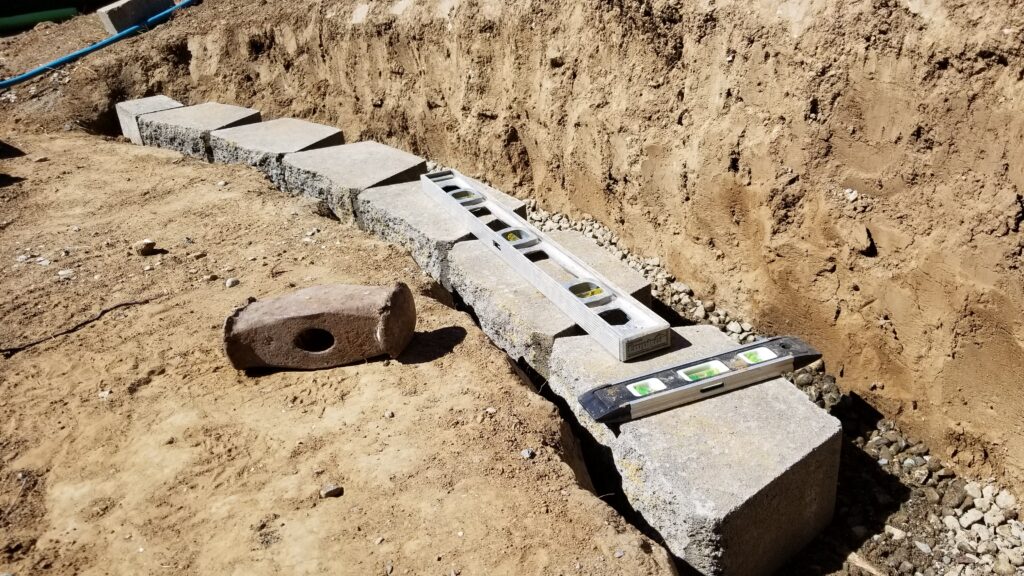
Before adding the base level of gravel, I needed to make sure I started off as level as possible!
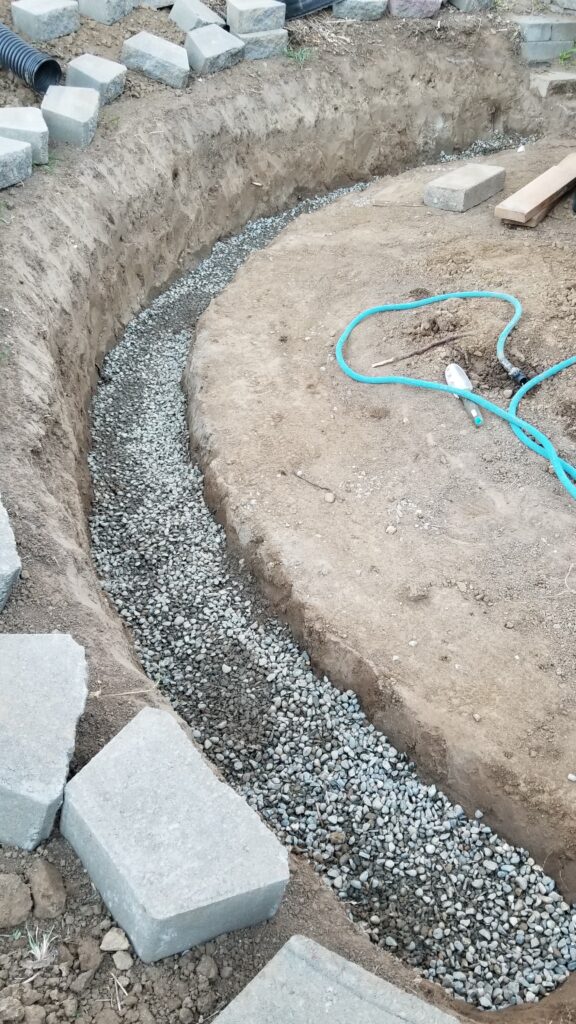
There was about 6″ of packed gravel, packing it down with water and a tamp for every 2″ of gravel!!
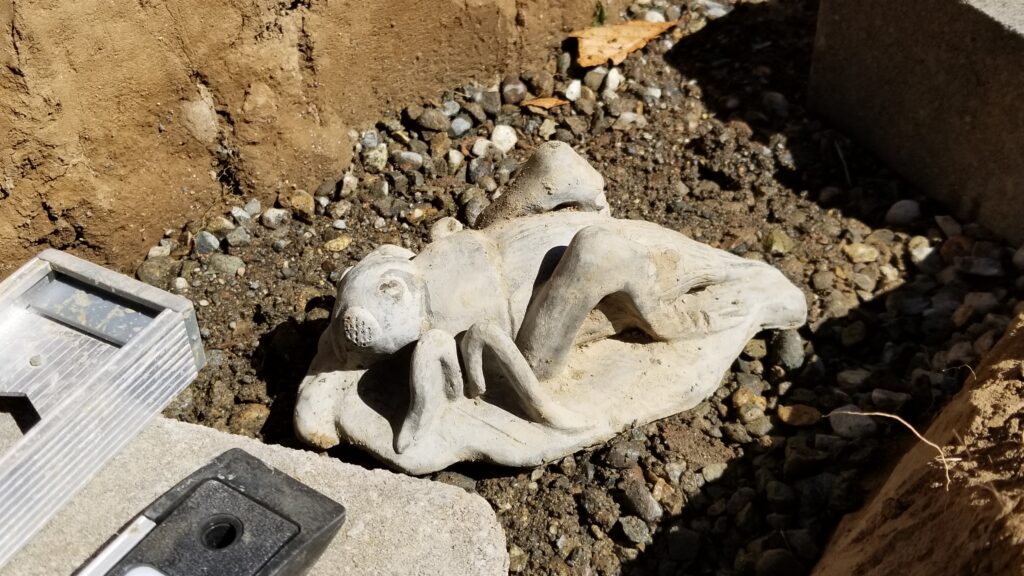
I didn’t have a tamp, so I had to use an ornamental garden décor stone caterpillar with a flat bottom to tamp it by hand.
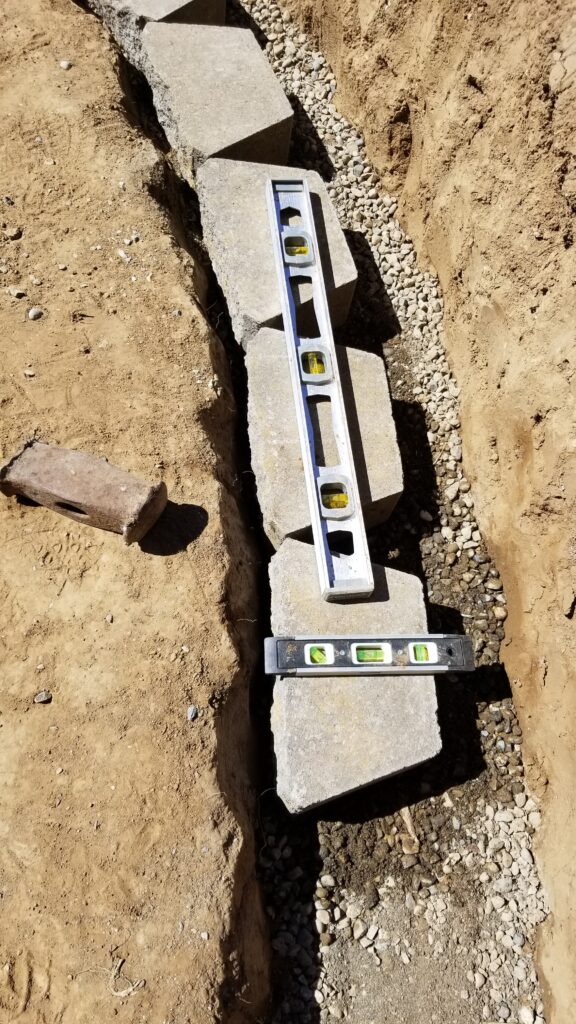
With the first level of bricks placed, the rest was supposed to go much faster, but it was very tedious, because had to take my time making sure the first level was as perfectly level as I could get it.
This meant adding in more gravel and some paving sand to correct and tap them into their perfect place.
Don’t be intimidated. Watch lots of YouTube videos and do your research according the specifications of your desired wall.
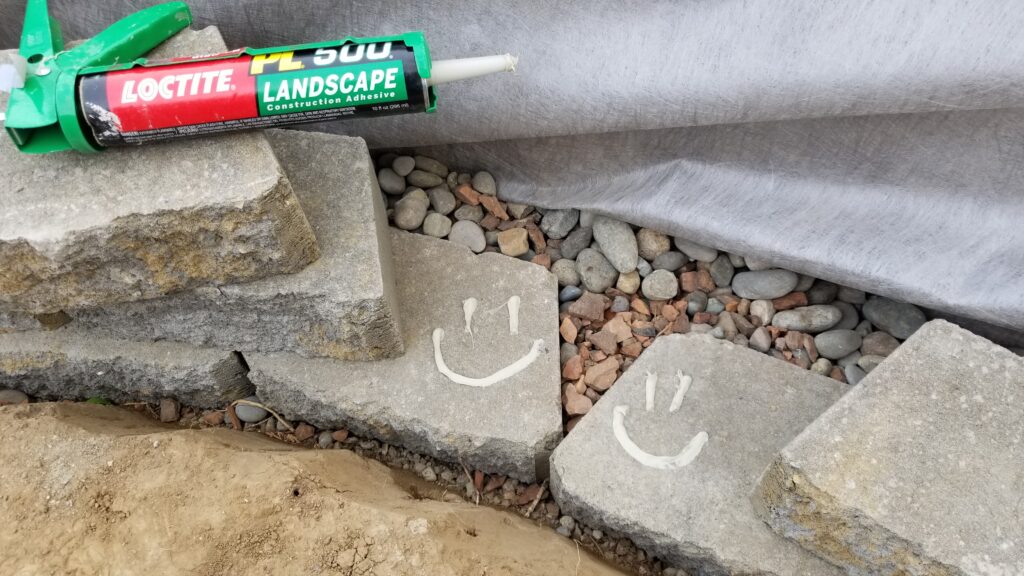
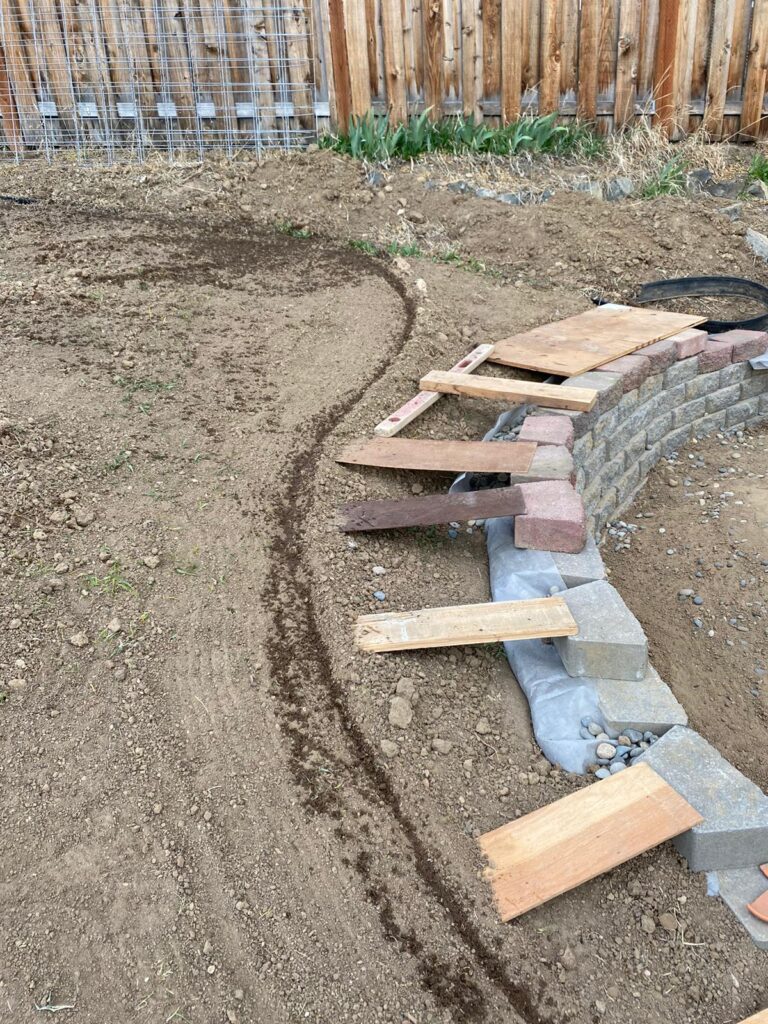
Once I had the base layer of bricks level, I added construction adhesive. I also added construction adhasive to the top layer of bricks.
I only had to make sure I built up the wall high enough, so it would be ready for grass to go in before it came that day!! I was not done with my wall by a longshot. There was still hours and hours ahead of me.
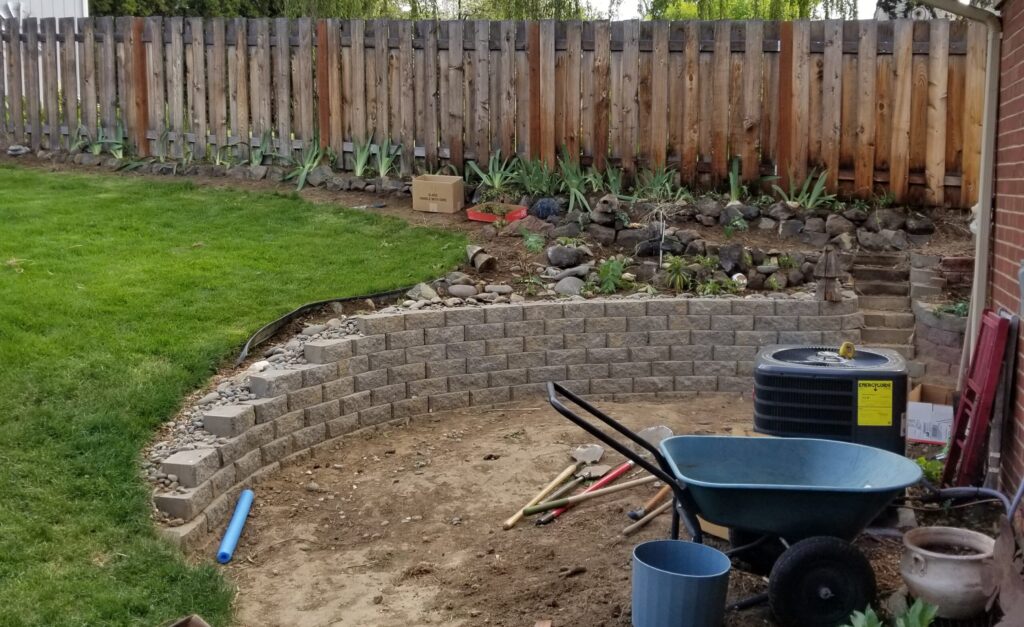
With the grass installed, I could finally finish building my wall up higher as it followed to the right. There were many hours back-filling behind the wall with drainage stone, dirt, and I installed a 10′ drain pipe as well..Building a retaining wall is a very tedious and laborious task, but in the end I had gotten my huge muscles back and a summers tan in the middle of March! I used landscaping fabric between the backfill dirt and drainage stone.
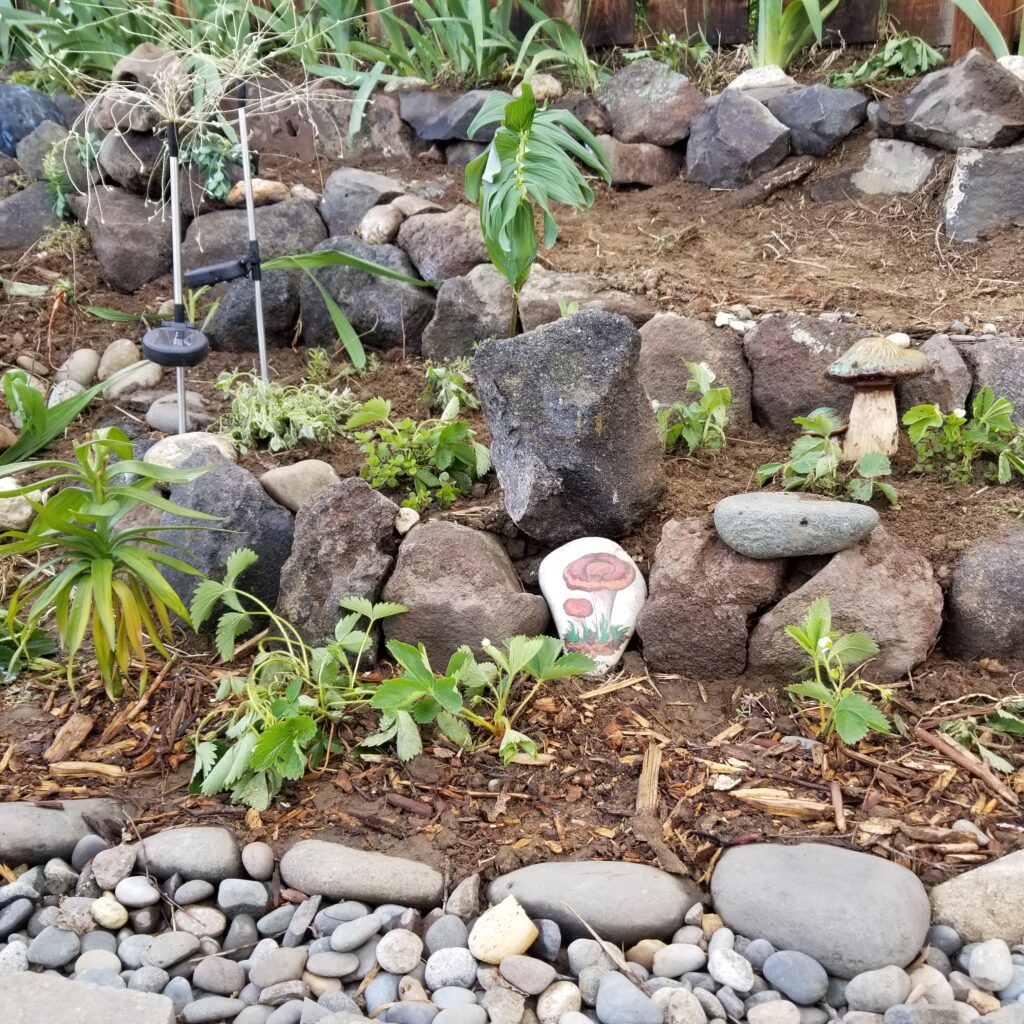
Once finally done, the best part was filling in with plants!!
I have so much fun creatively retaining the slope above with different shaped rocks. I have a skill for natural stone masonry. It’s satisfying finding what hooks and nooks and shapes on rocks make them fit together like puzzle pieces, while holding and distributing weight to retain the soil. I used carboard as an additional barrier to keep dirt and wood chips from falling into the drainage stone, and then I put more rocks on top so you can’t tell. 🙂
In my next newsletter, I’m going to show more pictures of my recent stone work. I’m proud of what I’ve done in my front yard including a heavy stone stair case….